Where I explain my process for developing code on the RP2040 board.
Sources#
Python User (Discussion below)#
- Sublime Text or your favorite code editor
- macOS Serial
Background#
When developing software for microcontrollers, the longtime standard was the Arduino. It required a modified version of C++, which allowed writing software quite close to the hardware, however, it had two specific issues. One, the language itself is very particular and it is not elegant and two, the compile/load/run (CLR) loop can be laborious and time-consuming.
An example for the former issue, is when attempting to print, several print lines are required for a standard “text, variable, text” type of print (such as “The delay is for 10 seconds”). And the commands themselves are cumbersome as in Serial.print() or Serial.println(). For the latter issue, every change of code requires the CLR loop and a cycle through the loop can easily take 25-30 seconds, for example, a simple, single letter syntax change costs 25-30 seconds as does a complete program update. The combination of these two issues, make it difficult to learn how to work with microcontrollers.
Python, on the other hand. is a more elegant or at least, a more friendly language and it has a interactive mode called the REPL, which allows one to write a line of code and immediately see the results (including being told the line has invalid syntax.) This makes for a much faster and interactive development environment for beginners. Unfortunately, this elegance and interactive nature comes at a cost of slower performance, more space required and not as hardware-friendly to microcontrollers.
Python for Hardware#
MicroPython (uP) and CircuitPython (CP) attempt to solve these issues as a specific version of Python, which is designed for hardware microcontrollers. MicroPython is designed for specific microcontrollers with an aim for direct hardware control, while CircuitPython is aimed at beginners and attempts to abstract away hardware complexity. Both have their supporters, advocates and detractors, however, both work well for learning how to work with microcontrollers.
Getting Python on to a microcontroller such as the RP2040, is quite easy there are a few tutorials for doing so in MicroPython or CircuitPython. I suggest using the one that appeals to you. I am using MicroPython as I like some of the modules such as machine(). For others, CircuitPython might be a bit more friendly.
Coding MicroPython on Adafruit Feather RP2040#
Criteria for Process#
- I like to edit the code on my main computer and download to the microcontroller. This ensures I have the code backed up, I can use git to manage version control and I won’t have issues between what is on my computer and what is on the board.
- Which means I will always have an “edit-download-run loop”, very similar to my hated “compile-load-run loop” on the Arduino. On either framework, I want my “loop” to be as short as possible. For the Arduino, its typically 25-30 seconds and for MicroPython, its 2-3 seconds.
- I like using the same tools whether I’m coding for my main computer or a microcontroller board.
Tools#
- macOS Serial Serial communications between computer and controller.
- Sublime Text Code editing.
- GitHub - rshell File and controller management.
Process (Edit-Download-Run Loop)#
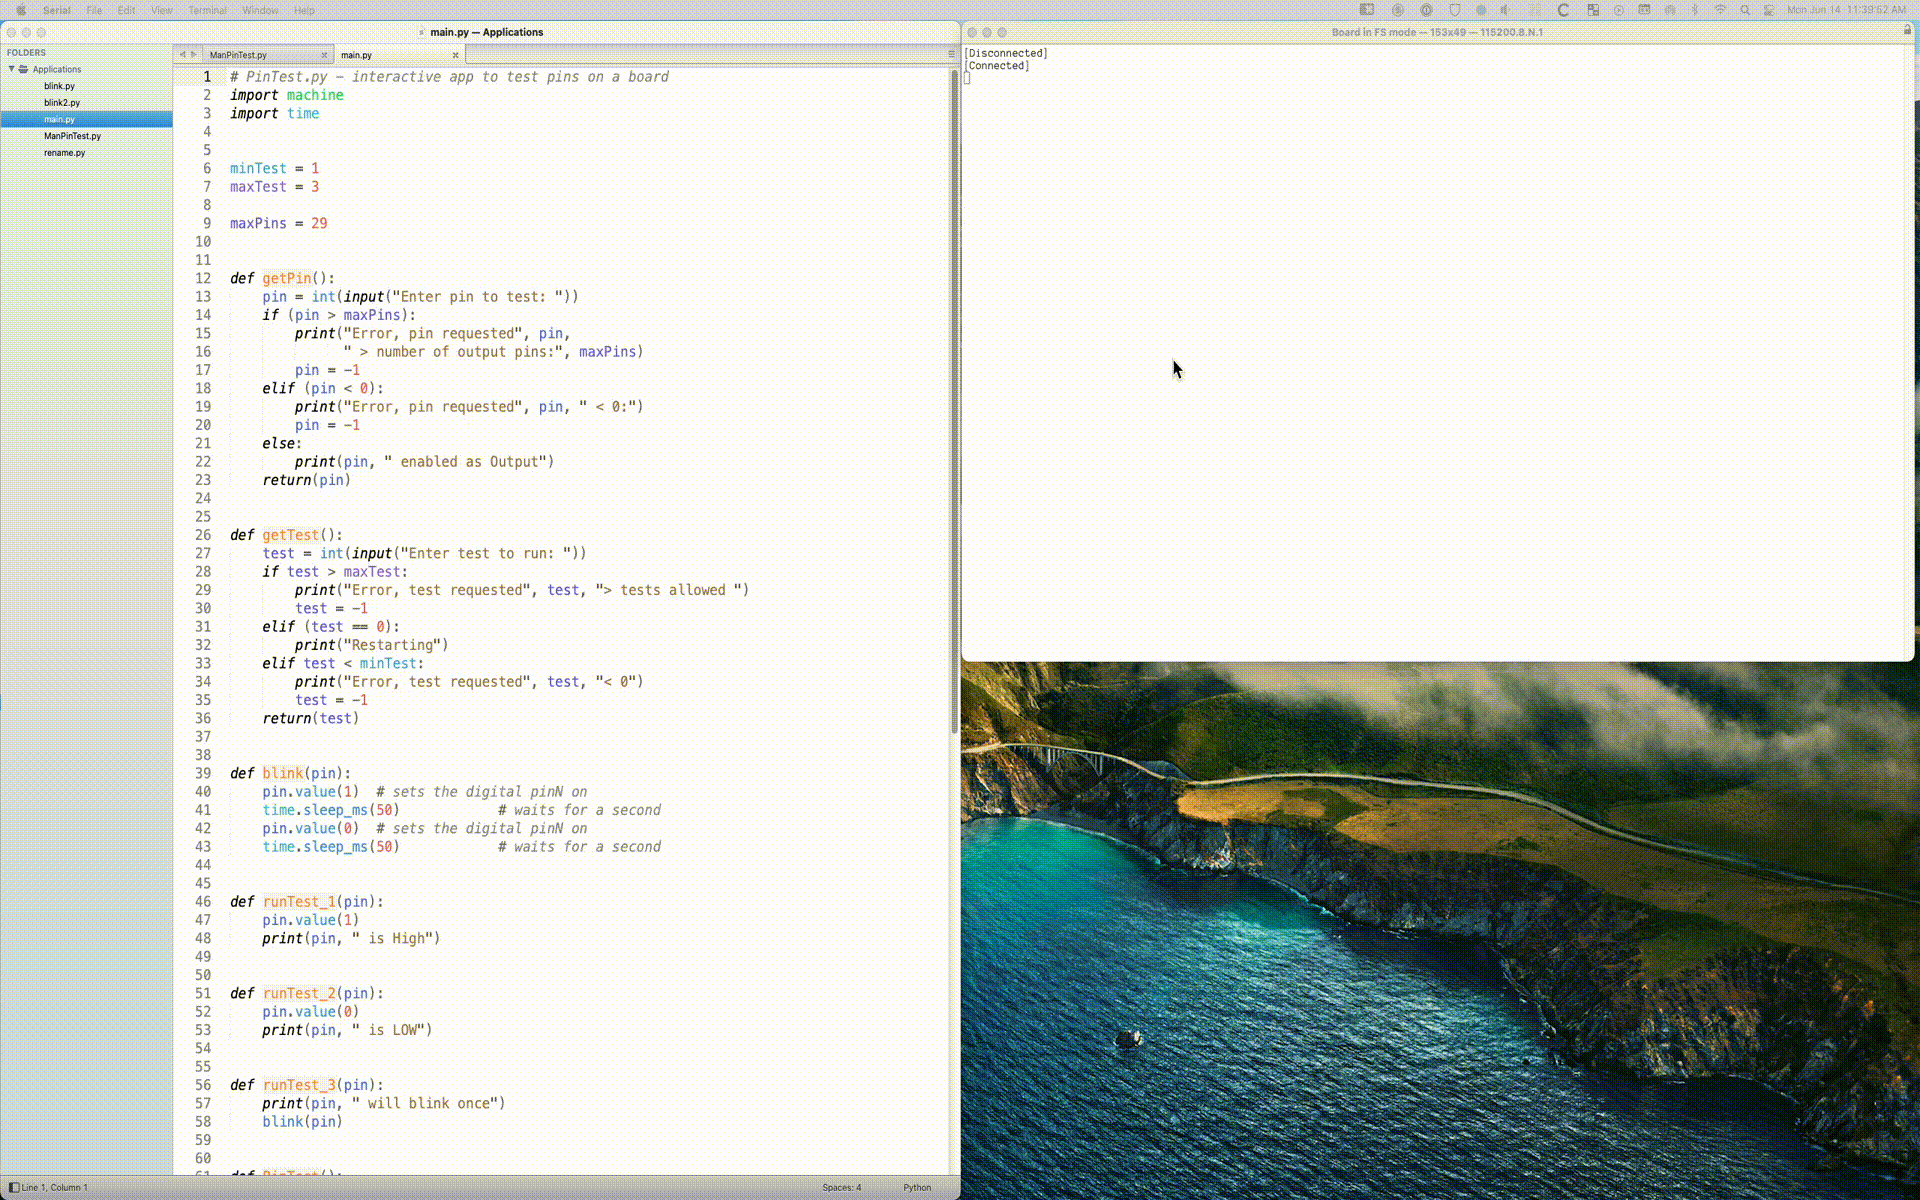
- Open Serial and connect to the board.
- Start Sublime Text, open desired folder and finish editing
- To download file:
- CTRL-D Soft reset board
- CTRL-E in Serial to start paste mode
- Drag file onto Serial app to download
- CTRL-D to finish and start running app From the animated gif below, you can see the process as a CTRL-D -> CTRL-E -> Drag file -> CTRL-D. When make the gif, it took 15 seconds so I could capture the keys on screen, in reality it takes about 3 seconds.
If a program is running on the board already, I’ll need to CTRL-C to stop execution. Then the process from step 3 above.