DEPRECATED As of December 2025, the instructions have been updated for Trixie,. I setup the Standard C tool chain for the ATmega328P on the Raspberry Pi, however I use VS Code on my Mac (or Windows) for development and connect via SSH to the Raspberry Pi.
Note: There is a new, “easy” version is due to using Raspberry Pi OS Trixie, which now provides fairly up-to-date tools for the AVR microcontollers. This “easy” version is shorter and easier than the build method (Version 2 below). For those that wish to build the latest tools, use this version.
The rest of this entry has been replaced per the notes above.#
Introduction#
This is the best setup, period. Why? It provides the most simple tool chain installation, a stable, known platform and enables hardware debugging, should you want to do so.
Linux has always been the preferred platform for open-source embedded development, as the Standard C tools are native to Linux. macOS is second, as its Unix bloodline, enables it to resemble a Linux system quite easily. Windows is a distant third, as the hoops to jump through to build the tool chain are a pain (Note: WSL2 still can’t easily interact with the serial port).
In this entry, I’ll use the one of the least expensive Linux systems, the Raspberry Pi (RPi) and my Mac as a complete development system. While I might continue to develop on the Mac, in future entries, I’ll use this platform setup as its the most consistent and stable platform.
As I stated earlier, I will use VS Code on my Mac for development. Given the RPi is so great, why continue to use the Mac for development? The graphics are better on the Mac, I have other tools I might want to use on my Mac for the development process and the speed of the Mac, outside of AVR development, is significantly faster. The same point can be made of a Windows PC, while the RPi is great for command line-based C development, it is sorely lacking in performance in a browser or other GUI application.
Links for Reading#
Know#
- Learning the Command Line
- Editing Remotely Using VS Code
- Developing in C on the AVR ATmega328P: Frequently Asked Questions (FAQ)
- Developing in C on the AVR ATmega328P: Frequently Found Errors (FFE)
Good to Know#
Command Line Installation#
All three of these versions require using the Command Line. The Command Line uses an application commonly called Terminal on both Windows and macOS. It is a text-only interface which has been around since the beginning of the computers. I’ll refer to it as the Terminal or Command Line Interface (CLI), in my entries.
There are two environments to the CLI, local and remote. The former describes using the CLI to interact with your PC/laptop. The latter means using the CLI to interact with another computer, with the idea that it is remote from your laptop. In this case, it will only be a few inches away, however the idea still stands. In this case, the Raspberry Pi will be your remote computer, and your laptop will be your local computer, and sometimes it will be called your host system.
To enter the Command Line, find your Terminal application on your computer and open it. You will typically see a black or white screen with a cursor in the up left-hand corner. Congratulations, now you are using the most powerful application on your computer!
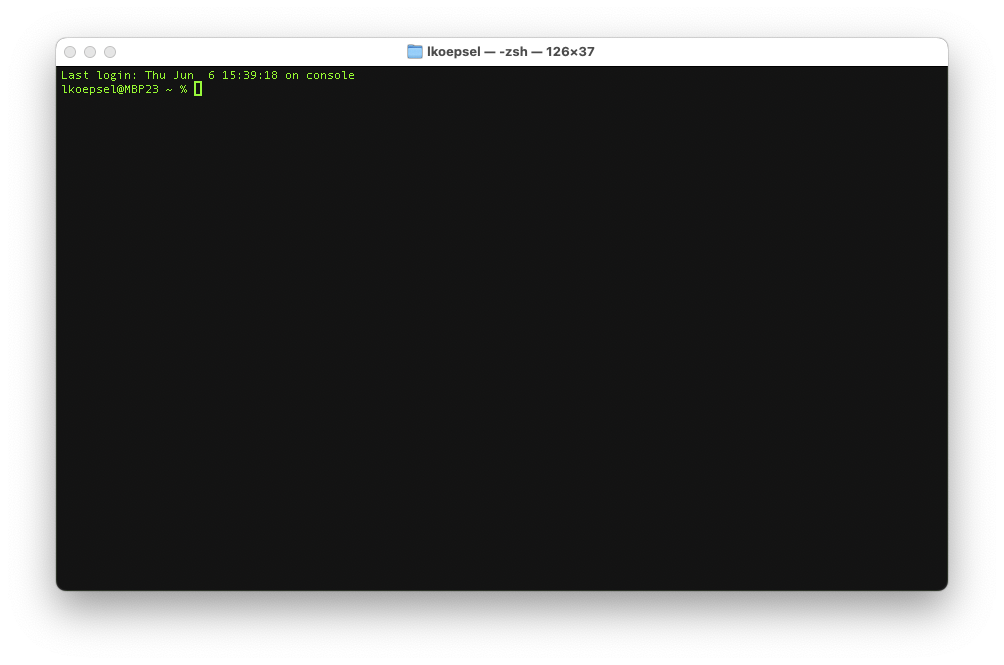
Terminal Example
And when you see a text box which resembles this:
ssh hostname.local
# enter yes to "Are you sure you want to..."
# update the latest, latest software
sudo apt update && sudo apt full-upgrade -y
It means, you are expected to use the CLI to enter the commands. You can either copy and paste each line or type them as you see them. Lines beginning with a "#" are comments and don’t need to be entered (just read, to confirm you know what the line does).
The remaining question will be, “am I using the CLI in my local context or with my remote?” More detail on that as you develop the remote computer!
Overview and Steps#
My setup is to use VS Code Remote-SSH extension on my Mac to connect to the RPi. I will also use my terminal app (Warp) and connect to the RPi, using SSH. The Uno will connect to the RPi and not my Mac. And since I’m on Linux, I can install Bloom and have a phenomenal hardware debug platform.
I have two versions of installing the C Tool Chain.
| Version | Positives | Negatives |
|---|---|---|
| 1. Use Bookworm packages | Easy to install, takes minutes. Works well for Uno | Older versions of software, such as avr-gcc is 5.4 and avrdude, 7.1. Making it difficult to use new AVR microcontrollers |
| 2. Follow instructions for latest | Have the latest versions of all software, enabling using newer AVR microcontrollers | Effort takes about 4 hours to compile on the RPi |
Note: In this discussion, I use a term, image, which might conjure up the idea of a picture. In this usage, an image is a file which contains a complete operating system. The file is typically bootable and on initial boot, will configure itself to be a working system. This is a common distribution method in Linux.
Version 1. Use Bookworm packages#
This version uses the versions of software available for the Debian Bookworm, which is the latest version of the Raspberry Pi OS. As I stated, many of the packages are quite old. They will work, however, they won’t work for newer versions of the AVR microcontrollers. They will be fine for working with the Arduino Uno and comparable boards. I recommend this approach as your initial effort.
1.1 Create bootable image#
For this and subsequent entries, I’ll use a Raspberry Pi 4 with 4GB of memory. (Note: I have tested this setup on a Raspberry Pi 3B with 1GB of memory ($35!) and did not notice appreciable performance issues.) I use the Raspberry Pi Imager software and install the 64-bit Lite version of the Raspberry Pi OS (see image).

Raspberry Pi Imager -> Raspberry Pi OS (other) -> Raspberry Pi OS Lite (64-bit)
A great feature of Pi Imager, is that it provides the ability to add a WiFi password, authentication and a public key. I highly recommend adding a public key in the second setup screen. Key steps below:
-
Set hostname (and remember it). You will use it to connect to the RPi.
-
While I strongly recommend using the public key authentication, you will still need a Username and Password, be sure to write these down.
-
Configure wireless LAN and locale settings according as appropriate.
-
Next -> Edit Settings -> Services -> Allow public-key authentication only If you don’t already have one, click on the SSH-KEYGEN button to generate one.
-
After you have set all of your desired settings, be sure to click Save at the bottom.
- Then “Yes” to “Would you like to apply OS customisation settings?”
- Then “Yes” to “All existing data on the …SDXC Reader Media will be erased” NOTE: BE SURE THIS ISN’T YOUR MAIN DRIVE!
- Enter your password and Pi Imager will create a bootable SD (or USB drive) for you
1.2 Update Linux setup#
Once the SD card has been written, put the card into the RPi, plug in an Ethernet cable (preferable) (or you connect via wireless), connect power to the RPi and wait for about 2 minutes. This will allow the RPi to boot, perform initial housekeeping then wait for you to login.
In your Terminal(macOS) or Command Prompt(Windows) window (from here on, I’ll simply say “in your command line interface (CLI)):
ssh hostname.local
# enter yes to "Are you sure you want to..."
# update the latest, latest software
sudo apt update && sudo apt full-upgrade -y
Once these steps have been performed, congratulations, you have a fully functioning Linux box! Now let’s make it an AVR C development machine!
1.3 Install C Tool Chain#
# install C tool chain
sudo apt install gcc-avr binutils-avr gdb-avr avr-libc avrdude make git tio -y
avr-gcc --version && make --version && git --version && tio --version && avrdude
# the second line above, will print out a lot of text, look for lines similar to these
avr-gcc (GCC) 5.4.0
...
GNU Make 4.3
...
git version 2.39.2
tio v2.5
avrdude version 7.1, URL: <https://github.com/avrdudes/avrdude>If the lines above, appear the following tools are installed:
- avr-gcc - the Standard C tool chain for compiling and linking code for the AVR family. Version 5.4 is very old, however, its stable and it works.
- Make - a tool used to automate tasks for developing code
- git - version control used for AVR_C
- tio - a serial program which runs on the command line
- avrdude - a tool used to upload code to the flash memory on an AVR microcontroller board
To continue go to 3.4 Test the Tool Chain. This will put AVR_C on your Raspberry Pi and test it with the blink program.
Version 2. Follow Instructions for Latest#
The AVR_C repository has a page dedicated to installing the latest versions of software. The installation requires compiling the versions desired on the Raspberry Pi. I used a Pi with 8GB of memory and it took 4 hours. It is not difficult or even complex, just time-consuming.
Version 3. Download and install a created image#
If you are in a classroom environment, there is a good chance the instructor has already created an image from #2 above. If so, the installation is the easiest of all of them! The instructions below are a similar to the image instructions in the AVR_C repository.
3.1 Download the Image:#
Your instructor will provide the IP address of the image server, replace the number 192.168.1.112:8000 below with the one, they provide.
Steps using CLI#
# on host system
# to see files listed (in html format) or use your browser to see the page
curl http://192.168.1.112:8000

# to download file
cd ~/Downloads
wget http://192.168.1.112:8000/pibuildv4_gm.img.gz
You may also use your browser and go to the same URL, click on the file name and download it.
3.2 Create a bootable image:#
On your PC use Pi Imager to install a Raspberry Pi OS image on to an SD Card. The selections are:
- CHOOSE DEVICE -> Raspberry Pi 4
- CHOOSE OS -> Use custom -> Navigate to the downloaded image, select it then click Open
- CHOOSE STORAGE -> ENSURE THIS IS YOUR SD CARD!
Edit Custom Settings#
- GENERAL tab: (set per your location)
- Set hostname: to be unique to you if you are in an environment with multiple installations
- Set username…: its best to have it be the same username on your PC and remember the password you assign
- make sure the wi-fi is the same SSD as your PC and the Wireless LAN country is your country as well (in US, set to “us”)
- set locale to your time zone and keyboard layout as desired (in US, set to “us”)
- SERVICES Select “Allow public-key…”, click RUN SSH-KEYGEN if required
- OPTIONS Select all
Click SAVE then Yes, Yes.
CONFIRM you are writing to the SD Card then authenticate to allow Pi Imager to write to the SD Card.
Once Pi Imager has completed, remove the card and place in your RPi. Plug-in power and wait… :)
3.3 Connect#
Connecting can be a little confusing. I have yet to determine the exact sequence required to ensure the Raspberry Pi is ready for login. I recommend the following steps:
- Carefully, plugin the SD Card into the slot in the bottom of the RPi
- Plug power into the USB connector on the side of the RPi
- Allow 3 minutes for the RPi to go through its initial boot sequence
- Once three minutes have passed from initial power on, disconnect power, wait a couple of seconds then connect power again
- Wait about a minute then attempt to login, using
ssh hostname.local, replacing hostname with the name you used in Pi Imager (See detail below) - If you are unable to login after about two minutes, unplug power then reconnect power, wait a minute and try again…
To login#
In your CLI, enter one of the two commands, replace hostname with the name you assigned in the step above.
# if your username on your PC is exactly the same as the username you used in Pi Imager
ssh hostname.local
# if the usernames are different, use the username you used in Pi Imager, below
ssh username@hostname.local
NOTE: This is where you begin to use local and remote, when you enter ssh... you are in your local system (or environment) and are logging in to your remote environment. When the RPi responds and you see a cursor with username@hostname.local, you are now in the remote environment.
RPi response#
When you make the first connection with the Raspberry Pi, it will provide a security fingerprint and will ask if you wish to connect with the device. You need to answer “yes” and press Enter, once you do, the RPi, will continue to boot the finally present you with a login indication similar to this:
usernname@hostname ~A successful initial login, looks like this:
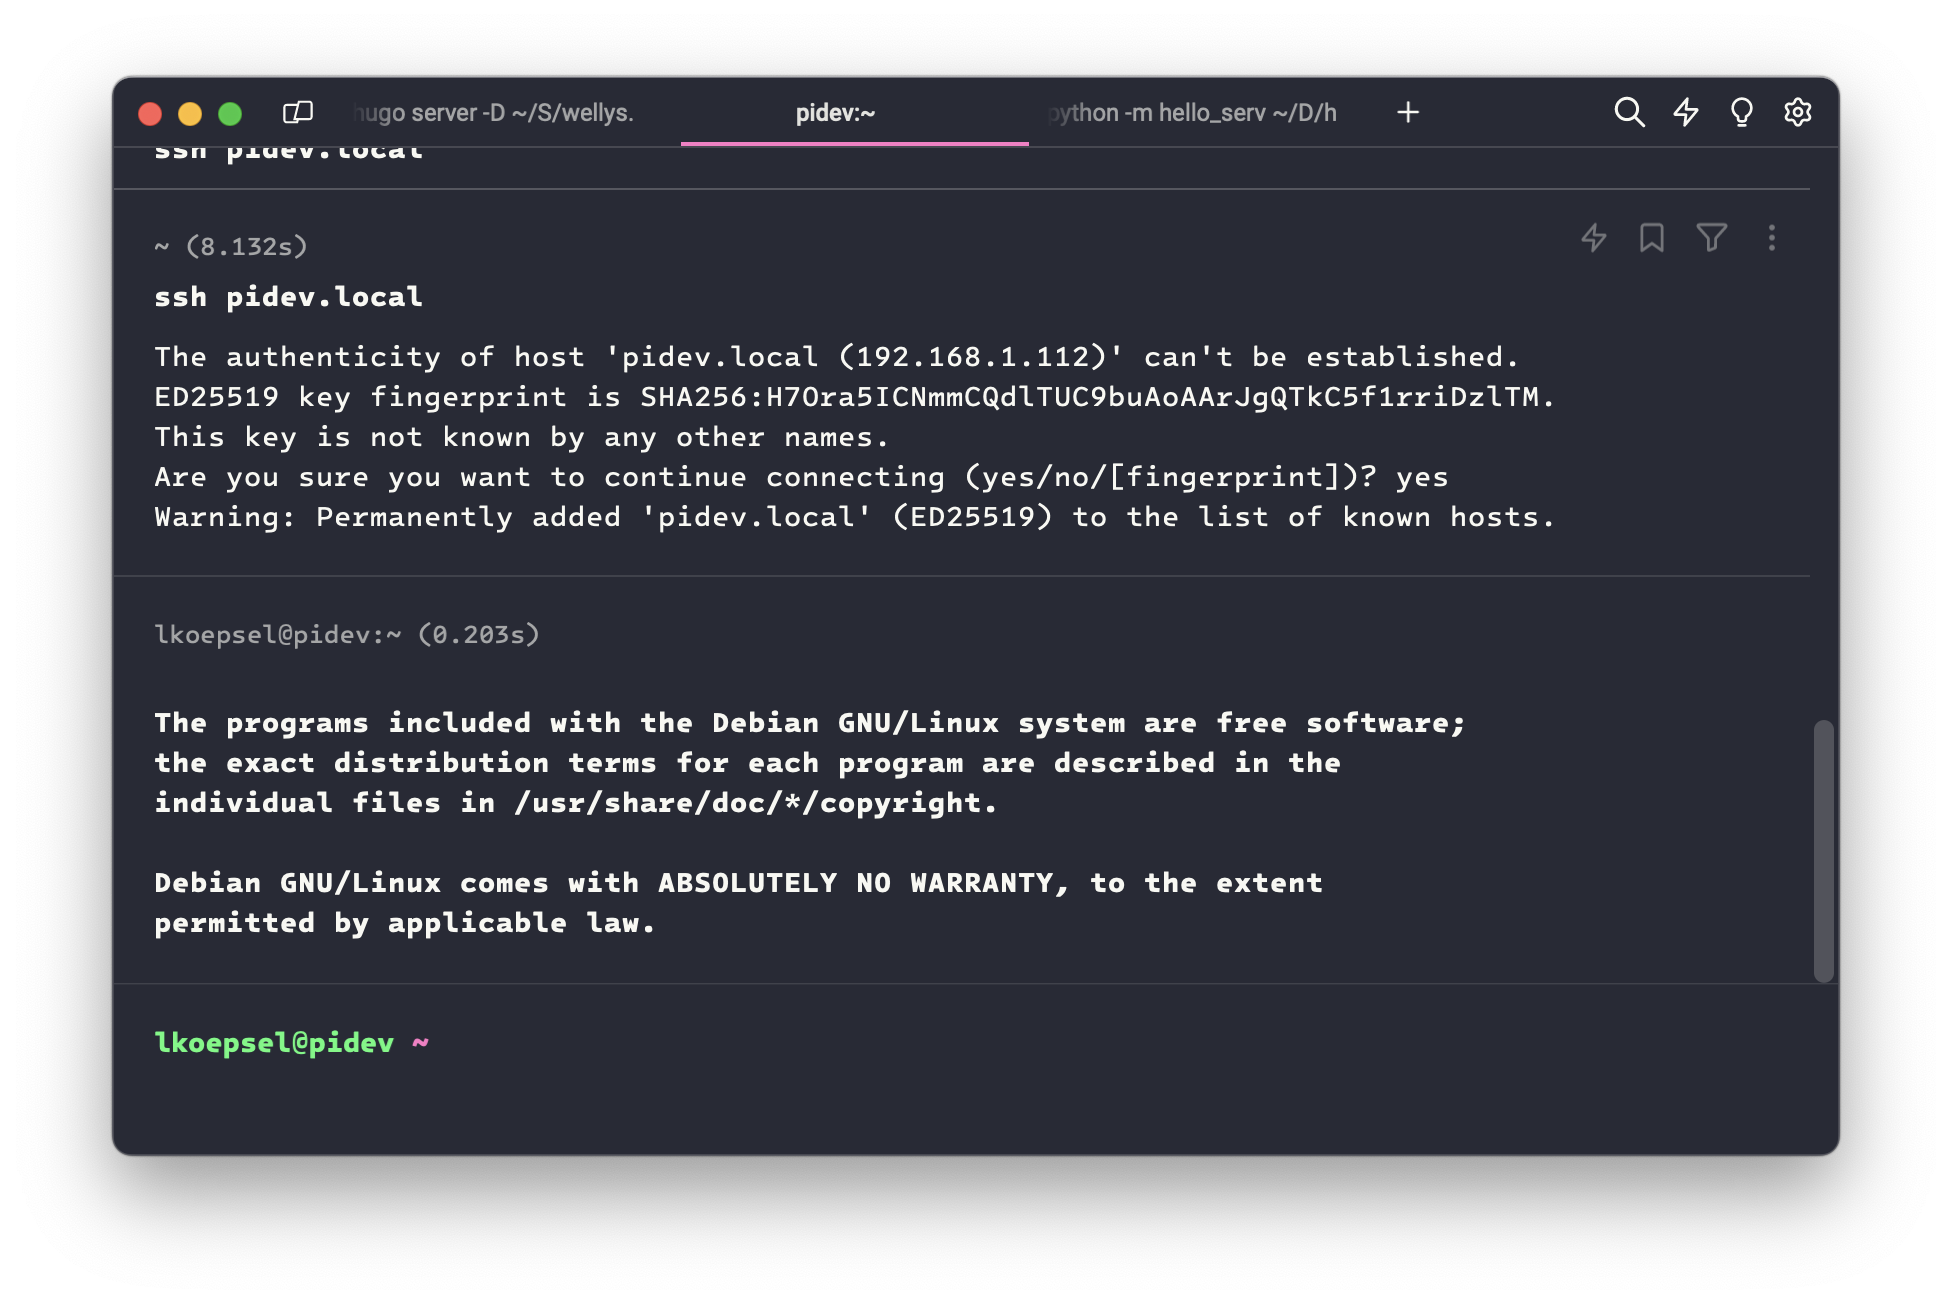
Initial successful login to Raspberry Pi
3.4 Test the Tool Chain#
Its best to quickly test the tool chain locally, before, attempting to do so with VS Code. Follow the following steps:
3.4.1 Confirm AVR_C#
# print your home directory and confirm AVR_C exists
ls
# AVR_C  needs to show up as a folder
If AVR_C doesn’t exist, go to this page and clone it to your RPi.
3.4.2 Add env.make#
To add env.make, follow this page. Follow all 3 steps!
3.4.3 Make the blink example#
Like all good tutorials, we’ll use the blink program to test our installation. In this case, you will go to the examples/blink folder and enter the make flash command.
# go to the blink example folder, using cd
cd examples/blink
# compile and upload the code
make flash
Using the above commands, success will look like this:
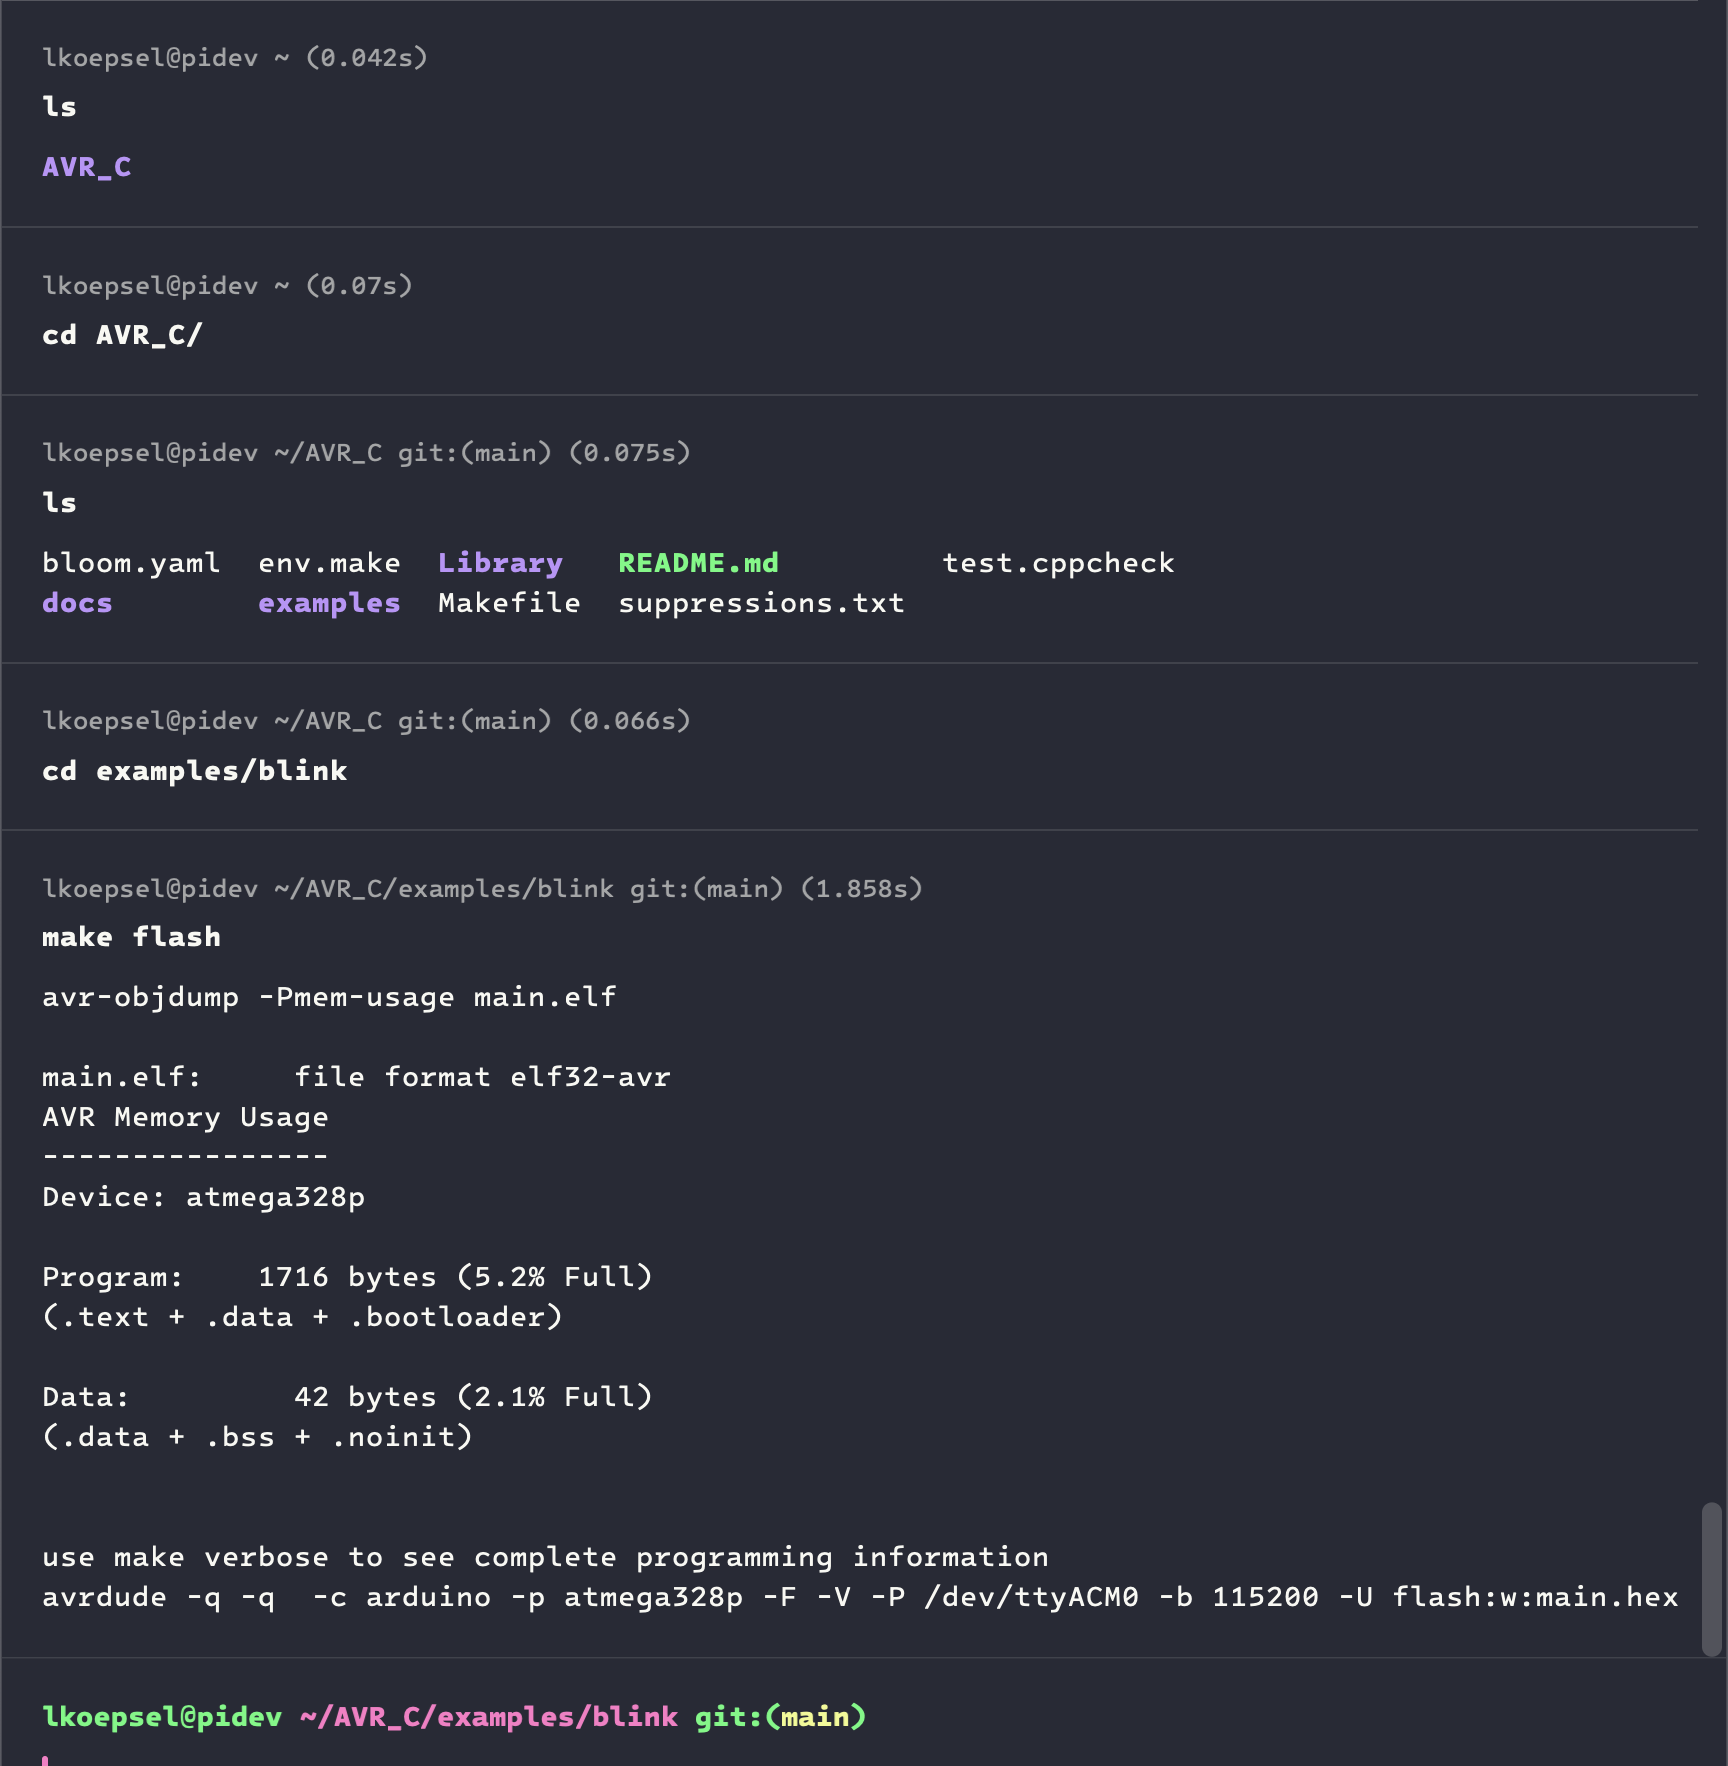
Successful Compile/Link/Upload of blink to Uno
In the image above, I did an ls in the AVR_C folder to confirm env.make existed.
Connecting with VS Code#
You will need to download and install VS Code for this step. Be sure to install VS Code and NOT Visual Studio, which is the paid version and a complete, yet complex IDE. If you want to know more, here is a good discussion.
Final Step#
If you are installing from Version 1, you will want to ensure you have the right extensions installed
Versions 2 and 3, will have the extensions as part of the install process (2) or pre-installed (3).
If you have made it this far successfully, you now have a Standard C development platform running on a Raspberry Pi! Congratulations!
(Optional) Public Key for GitHub#
I recommend adding a public key to your GitHub repository. It makes authentication dramatically easier. You will need two of them, one for your PC and one for your Raspberry Pi. Be sure to label them correctly on GitHub. The instructions below are for the RPi, they would be the same for your PC.
Create Public Key#
In your CLI connected to the Raspberry Pi:
# add public key for Github, change email address to yours!
ssh-keygen -t ed25519 -C "username@site.com" && eval "$(ssh-agent -s)" && ssh-add ~/.ssh/id_ed25519 && cat ~/.ssh/id_ed25519.pub
On all of the prompts above, please press enter and accept the defaults. The last two lines will be similar to:
Identity added: /home/username/.ssh/id_ed25519 (username@site.com)
ssh-ed25519 AAAAC3Nza..........................VhMemWs8 username@site.com
Enter Public Key in GitHub#
- In your browser, go to your GitHub repository
- Click on your image in a circle in the upper left-hand corner (you might need to login)
- Settings -> SSH and GPG Keys -> New SSH key
- Copy the text from your the last line (ssh-ed…) and paste it into the second box. It will end with your email address.
- I recommend using the RPi hostname as the title
- Click on Add SSH Key (you might need to authenticate again)